
A well-constructed garden fence not only adds beauty and privacy to your outdoor space but also serves as a vital barrier for protection and demarcation. The foundation of a sturdy and reliable fence lies in the proper installation of fence posts. In this article, we will take you on a step-by-step journey, covering everything you need to know about garden fence post installation. From planning and preparation to selecting the right materials and executing the installation process, we leave no stone unturned. Whether you’re a seasoned DIY enthusiast or a novice looking to embark on your first fence installation project, this guide will equip you with the knowledge and techniques to ensure a successful outcome. Let’s get ready to peek into the world of garden fence post installation and discover the satisfaction of creating a beautiful and functional boundary for your outdoor sanctuary.
Planning the installation of your fence 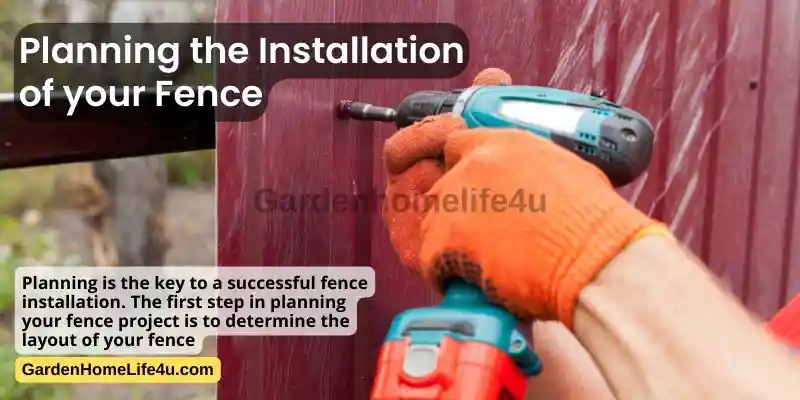
Planning is the key to a successful fence installation. The first step in planning your fence project is to determine the layout of your fence, including how many posts and panels you need, how long or tall each section needs to be, where you want gates and walkways, etc.
Then it’s time to start thinking about materials and tools. You can choose from wood posts or steel T-post style fencing; wood pickets or vinyl coated steel mesh panels; chain link fencing with mesh inserts or solid chain link mesh (with more options available depending on your budget). And don’t forget about other materials like anchors for concrete footings (if needed), screws/nails/rods for holding everything together, etc., even down to things like power tools if you’re going to do this yourself!
Another key part of planning is making sure that there are no surprises during installation time: what if we run out of lumber? How will we replace damaged parts? What happens if someone gets hurt while working on our project? It all comes down to proper planning so these things don’t happen later down the track when they should have been avoided altogether!
Creating your layout 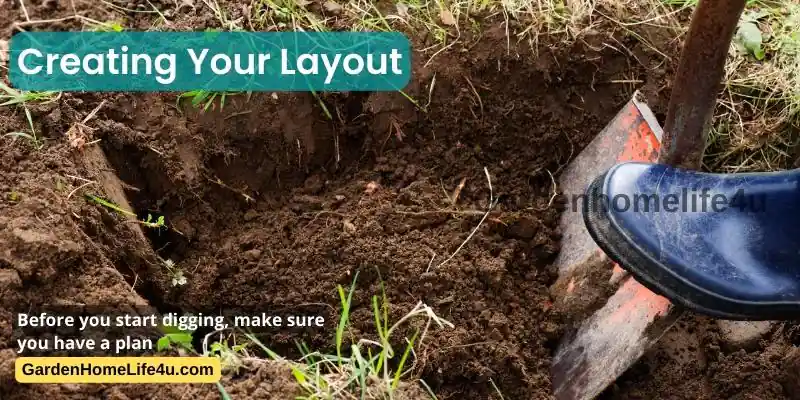
Before you start digging, make sure you have a plan. If your fence runs along the property line, mark off where each post should be located so that there are no gaps between posts and no posts are too close to the edge of your property.
Once you’ve determined where all of your posts will go (and how many), use a tape measure to measure the distance between them. Be sure that this measurement equals the amount measured from center to center as well—if not, it could throw off future calculations when building your fence!
Also, keep in mind whether or not each individual section of fencing will require its own post support. Posts can support up to 4′ x 4′ sections at one time; any larger than that means multiple supports will need to be added on either side of each panel. If this is the case with your project, take into account how many additional supports will be needed when calculating how much concrete mix and gravel fill you’ll need later on during construction!
Surface for Fence Post Installation 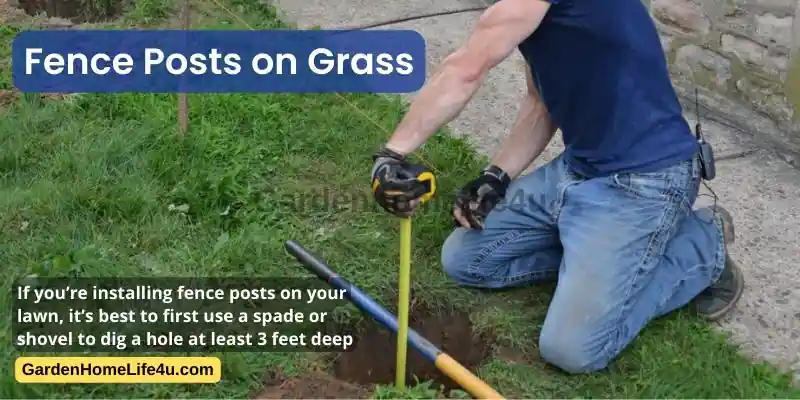
Fence Posts on grass:
If you’re installing fence posts on your lawn, it’s best to first use a spade or shovel to dig a hole at least 3 feet deep. If you’re using concrete footings, install them before inserting your post into the ground. Once this is done, put one end of the fencing post in place and hammer it in with some long-handled hammers (or a maul). You may have to make several strikes with your hammer to get the post all the way into the ground depending on how much resistance there is from rocks or other debris buried beneath your turf.
Fence Posts on Concrete:
If you’re installing fence posts on concrete, you can use a hammer drill to make holes in your surface. Once done, put one end of the fencing post into place and hammer it in with some long-handled hammers (or a maul). You may have to make several strikes with your hammer to get the post all the way into the ground depending on how much resistance there is from rocks or other debris buried beneath your turf.
Fence Posts on Gravel:
If you’re installing fence posts on gravel, it’s best to first use a spade or shovel to dig a hole at least 3 feet deep. The deeper the hole, the better support for your fence post. Once this is done, put one end of the fencing post in place and hammer it in with some long-handled hammers (or a maul). You may have to make several strikes with your hammer to get the post all the way into
Check Legal limits for Fence Posts before Installation 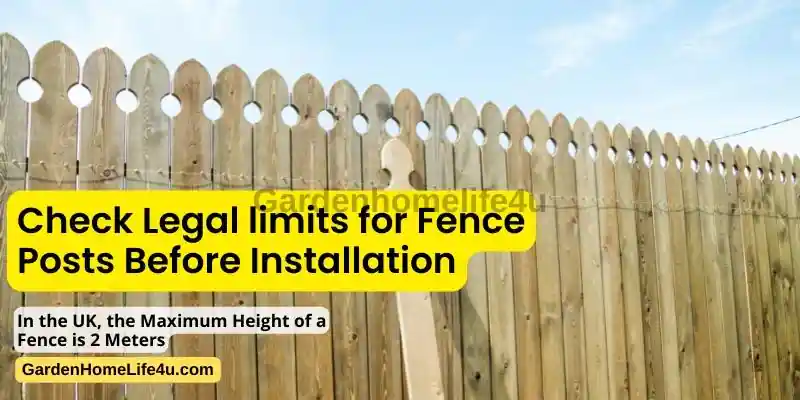
Before you start installing fence posts, it’s important to check whether or not you’re allowed to install them. In order to do this, check with your local council for any regulations that apply to you and the type of fence post installation project you’re planning on undertaking. They may have specific rules about how far apart fence posts should be installed and how high up they can be placed on the ground.
They might also require a permit if certain types of materials are being used (such as treated wood) or if there is an area near homes where a lot of people live nearby who could be affected by noise pollution caused by hammering nails into wood using heavy machinery like nail guns or electric drills that are used during construction projects involving fences such as this one!
If there are regulations against fence post installation in your area, they might not allow you to install them. In the UK, the maximum height of a fence is 2 meters. If it goes higher than this then it would need planning permission before being erected on private land.
Size Options for Fence Posts 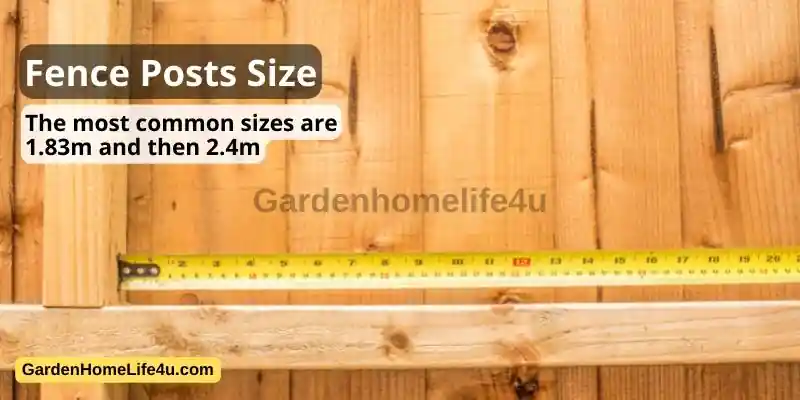
While you might think that the best size for your fence post is any size, this isn’t necessarily true. In order to have a sturdy fence and maintain its shape over time, you will need to make sure that all of your posts are installed at an appropriate depth. This means that if you are building an archway or a curved fence, then it will be necessary for these sections of the woodwork to be built deeper than others in order for them not only to stand straight but also to support themselves as well.
To determine what kind of size post is needed for your project:
- Measure from where the ground meets up with where people will walk on it (this may include patios) – this represents how far down into ground level they should go before being capped off at top level by caps or caps/hillsides which can vary in height depending upon personal preference
- Measure distance between each post relative to length – when measuring these distances try using a tape measurer long enough so both ends reach the outside edge without touching the inside edge (this ensures accuracy).
When choosing your post size, take into account things like: How much weight you need it to hold up 2.4m posts are best for heavier loads in most cases (think about what kind of fence would work best if you were building one yourself).
The most common sizes are 1.83m and then 2.4m but there are also smaller or larger posts available depending upon the requirement.
Material for your fence posts 
If you are considering installing a wooden fence, then it is very important that you know the different types of wood available for use as posts. Wooden posts are more common, but metal posts are usually more durable. The most popular wood used for fences is cedar. Cedar wood is flexible and has great weather resistance properties which make it ideal for outdoor use. It can last up to 50 years if properly maintained and protected from the elements through regular painting or staining techniques.
Wooden fence posts have become more expensive than ever before due to increased demand from consumers who prefer using traditional materials in their backyard landscaping projects. This means that there’s less timber available on the market today than 10-15 years ago because there simply isn’t enough supply to meet consumer needs across North America!
Metal fence posts are becoming more popular because they could be cheaper than wood and require less maintenance. However, there are many different types of metal posts which one should you choose? The most common metals used in construction include aluminum (which can sometimes look like stainless steel), galvanized steel (which has a shiny surface), or concrete (which may have a plastic coating). The type of material for your fence posts depends on what kind of property you have, how much money is available to spend on them –
and other factors that influence which material would be best suited for its intended purpose. Metal posts are more durable than wood and can last up to 50 years if not exposed to moisture or chemicals, whereas wooden posts require regular maintenance in order to avoid rot.
Metal Fence Posts 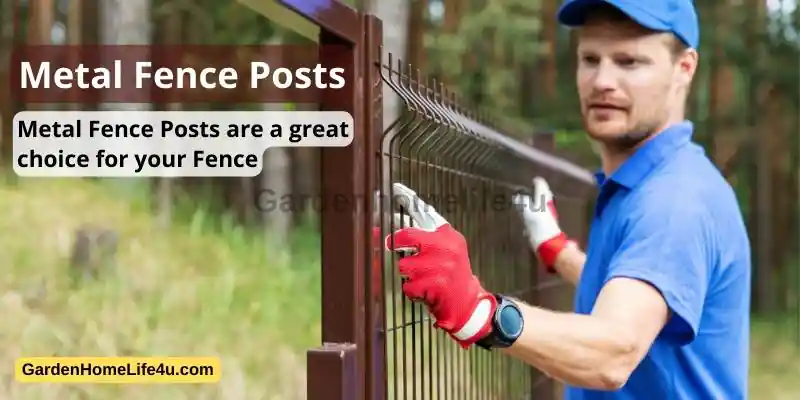
Metal fence posts are a great choice for your fence because they are strong, durable, and attractive. They come in steel, aluminum, or wrought iron styles.
Steel metal fence posts are the strongest type of post available on the market today. Steel is durable and rust resistant which makes it an excellent choice for both indoor and outdoor use at any temperature level.
Aluminum metal fence posts are easy to work with when installing them into the ground because they have a malleable material that allows you to form them in any shape needed to install securely into hard soil conditions without much effort at all! Aluminum will not rust over time like other metals such as steel do so this makes it an ideal choice if you live near saltwater beaches where corrosion is more likely to occur due to its salty environment conditions being exposed daily during rainfall seasons or high tide levels during storms washing sand away revealing the bare metal underneath layers surface area–which could cause corrosion damage if left unprotected against exposure conditions like sun exposure (not recommended).
Wrought iron metal fence posts are the most expensive type of post available on the market today but they do offer a high degree of strength while still being easy to bend and shape into whatever configuration you desire. They are also more durable than other types because there’s no need for painting or stains which can be time-consuming maintenance costs over time when comparing these options against each other.
Composite Material fence Posts 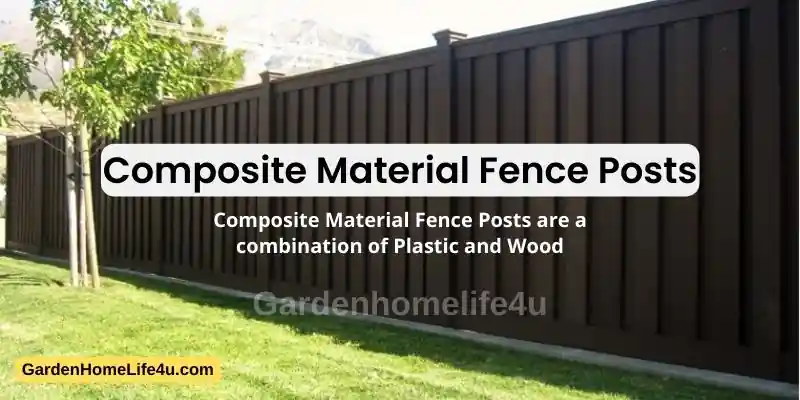
Composite material fence posts are a combination of plastic and wood. They are more durable than wood, so they will last longer before needing to be replaced. Composite material fence posts are also more expensive than wood, but they offer an excellent value because they last longer and require less maintenance.
Composite material is resistant to rot and insects, which makes it ideal for use in areas where there is a lot of moisture or humidity such as near the coast or lakefront properties. It’s also resistant to weathering due to its high UV protection factor (UPF), which means that it won’t fade over time like wood does when exposed to, too much sunlight exposure.
The material is also very strong, so it can easily support the weight of heavy gates and other structures that might be built on top of your fence line. You’ll want to make sure you’re using composite material posts if you’re constructing a gate because these types tend to provide better support than traditional wooden ones do.
Fence Post Digging tools 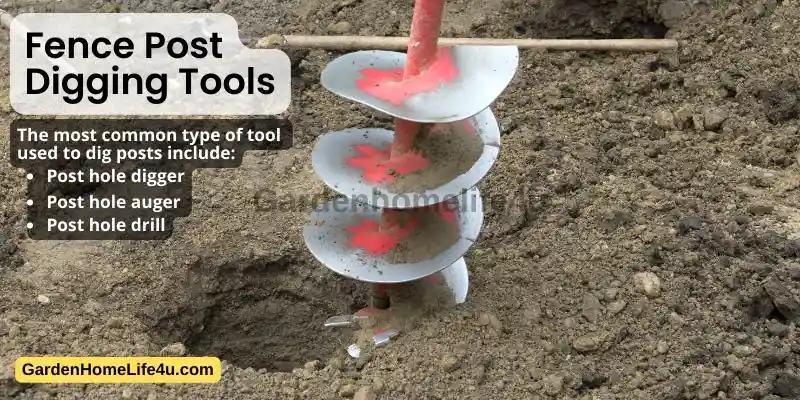
The first step in installing your fence is digging the post holes. This can be done by hand, but it is much easier to use a tool that has been specifically designed for the task. The most common type of tool used to dig posts include:
- Post hole digger
- Post hole auger
- Post hole drill (also known as a concrete drill)
The post hole digger is used to remove soil from around the perimeter of where you want your fence post positioned so that there’s nothing for it to sit on when you drive it into place. It looks like an oversized shovel with a long handle and flat blade on one end, which allows you to get deeper into the ground than other types of tools will allow. Most people use this type of digging tool because they’re more comfortable using their hands than power tools, however, keep in mind that manual labor isn’t always easy!
The post hole auger is similar to a post hole digger, but it has an extra-long handle that makes digging much easier. This tool can be used with both soft and hard soil types and will allow you to get deeper into the ground than other types of digging tools will allow. The post-hole drill is an extremely useful tool for digging deep holes in the ground. It consists of two parts: A long, narrow metal rod that is attached at one end to an extension cord
Using Metal Spikes or pegs for Fence Post 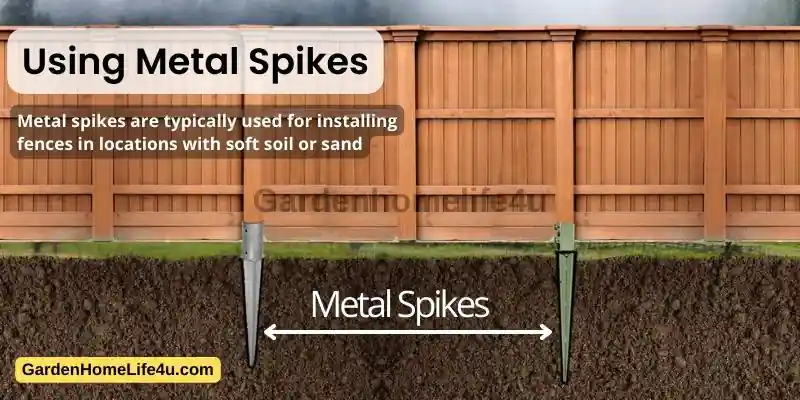
There are various types of metal spikes that you can use to secure wooden posts to the ground. Some of these include:
- Metal spikes with a pointed end, are driven into the ground using a mallet or hammer. Spikes with a flat top, which are hammered into place using a sledgehammer and wedge. You may also want to consider installing post anchors or trenchers as an alternative to traditional spikes for securing your fence posts in place.
A metal spike also called a ground spike or fence post anchor is used to secure wooden posts to the ground. They come in different shapes, sizes and materials. Most metal spikes are made from hardened steel with sharp tips on one end for driving into soft soil or sand.
Composite material spikes are another type of metal spike available on the market today. This artificial plastic or rubberized posts can be driven into any surface, including concrete, asphalt, and wood. They’re often used for installing fences in locations where traditional methods of installation aren’t feasible.
Screwed-in fence post spikes are a great alternative to traditional metal spikes. They’re just as easy to install and will last longer than their metal counterparts.
Metal spikes are typically used for installing fences in locations with soft soil or sand. They’re also a good choice if you don’t want to use concrete posts, which can be heavy and difficult to install.
Metal and screwed-in fence post spikes are easy to install. They’re also inexpensive, strong, and durable. If you’re looking for a simple way to secure your fence posts, then these types of spikes might be the best option for you.
A well-installed fence will protect your property and provide security for you and your family. But if the posts aren’t properly secured, they can come loose or even fall over. This can cause damage to your home or business, as well as injury to anyone nearby. Fence posts are usually made from wood, but there are also metal, concrete, and even plastic options available on the market today. The type of post you choose will depend on several factors including cost, durability, and aesthetics.
The issue with Fence pole spikes is they tend to skew while driven into the ground – once they have skewed ever so gently which is quite possible there is little which can be done to undo that so be mindful of this fact.
Driver for Fence Post Spikes 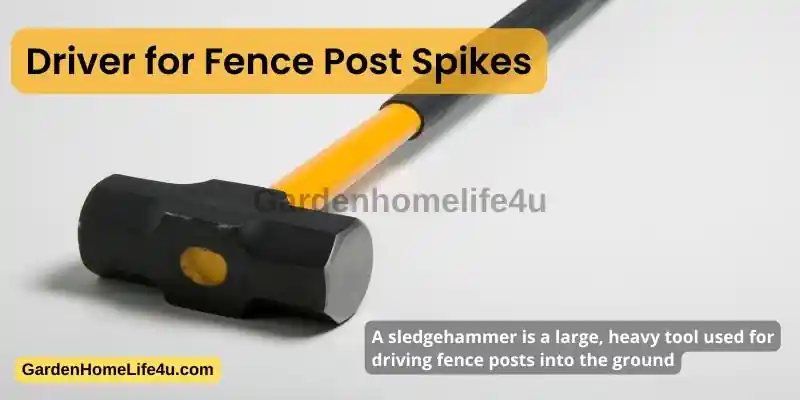
A driver is a tool that is designed to drive fence post spikes into the ground. It’s important to choose the right type of driver for your project because there are several different types, each with its own benefits and drawbacks. The best way to decide which type of driver will work best for you is to research each option carefully before making a purchase.
There are many different types of drivers. Some examples include: -Wooden handle or metal handle: A wooden handle driver is usually made of oak, maple, or hickory wood, while a metal handle driver is usually made of steel.
-Sledgehammer: A sledgehammer is a large, heavy tool used for driving fence posts into the ground. Some models have steel handles that can be attached to an electric drill or another power tool for easier use.
-Weight: Depending on the size of your project, you may want to consider a driver with a lighter weight. This will make it easier to use and move around.
The level is of Utmost Importance 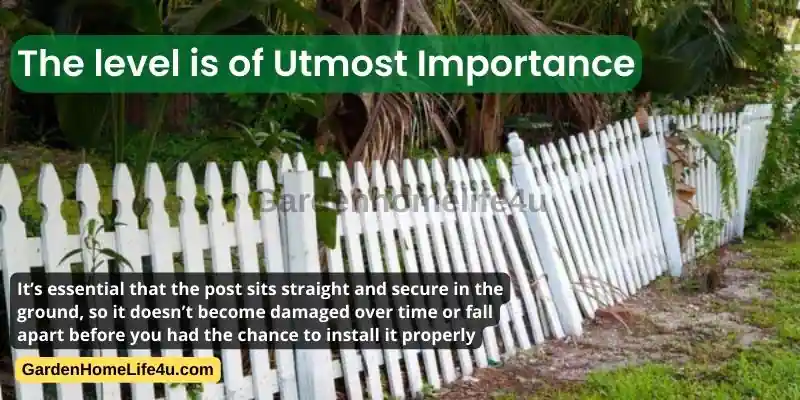
- The level is of utmost importance when installing fence posts. It’s essential that the post sits straight and secure in the ground, so it doesn’t become damaged over time or fall apart before you had the chance to install it properly.
- There are a few different ways to achieve this level:
- Using a standard level (which will usually have markings along one edge) can be done by placing the bottom end against one side of the post, then holding up a bubble until it appears centered inside. Repeat with another person holding up another end—you should get two bubbles in perfect alignment if your measurement was correct!
- Using what is called a spirit level is similar; however, some models are designed specifically for concrete use (as opposed to wood). These come with rubber feet so they don’t scratch surfaces like concrete might otherwise do when being removed later on down the line after the installation has been completed successfully without any major problems occurring due to entirely too much force being applied at once–which could damage both sides equally without proper care taken beforehand while doing so.) Spirit levels tend not to be as accurate as we’d expect from our regular consumer products found elsewhere around town; however, there are exceptions worth mentioning here too such as when dealing with material types other than wood (as mentioned previously). One example would be aluminum materials which could cause issues because these types require special tools not normally available at home stores such as hardware stores nearby–instead forcing us into buying materials locally where prices tend to seem higher than those found online elsewhere across America.”
Using concrete for fence post 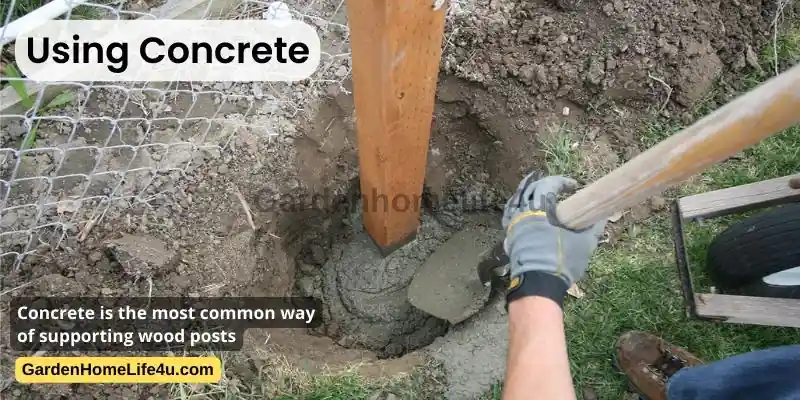
Concrete is the most common way of supporting wood posts. It is also the most popular because it lasts longer than other methods and has a clean, attractive appearance. However, concrete can be tricky to work with, so if you’re not familiar with mixing concrete or working on general construction projects, it might be best to hire a professional contractor or hire someone who has experience installing fences.
First things first: make sure you’ve got all your materials on hand before starting any work! You’ll need:
- Concrete mix (you’ll want to get this at a home improvement store)
- Fence post digger tool (similarly available online or in stores)
- Fence post driver tool (available online or in stores)
Now that you’ve got everything you need, let’s start building your fence! First, set up the posts where they’ll go. Then mix some concrete for each post (1 part water, 2 parts sand). Next, dig a hole about 20 inches deep and pour about 4 inches of concrete into it. After that, put your level on top to make sure the post is straight before putting in more concrete.
Once your post is in, you’ll need to let the concrete cure before connecting it to the other posts. This process can take anywhere from 24-48 hours; once you’ve allowed enough time and are sure everything has dried properly, add an extension on each of your posts so that they’re all at an even height. Then use a fence post bracket for installation to attach them together.
Once everything is secure, you’ll have created a sturdy fence that will last for years to come. It’s important not to skimp on quality materials when building your own fence post; the better the supplies used, the longer it’ll stay standing and looking great. As an added bonus, using concrete means there’s no need for digging around underground cables or pipes! That’s because this type of installation requires only surface-level preparation.
When building your own fence post, it’s important to be patient with the process. It will take some time before everything dries out completely and becomes sturdy enough for use.
Setting up your equipment and tools before starting the Fence Panel Project 
You’ll need to have the following tools and equipment on hand before you begin:
- A hammer
- Nails or screws to secure posts, if required
- A measuring tape or ruler (for measuring distances between posts)
- Screws
- U and L brackets
- Thread Line for lining up purposes
- Gravel to create the base for the Fence Posts
- Wooden Spikes for marking positions for posts
You’ll also need to have a level, which can be purchased at any hardware store. You can also use your phone app as a level for free! Your fence will not be straight unless you have a true level (or some other tool) so this is an essential tool for installation. The process of setting up your equipment and tools may seem complicated at first glance, but it’s actually quite simple once you get started. If you’re still unsure about how best to set everything up, there are plenty of tutorials online explaining exactly how it’s done! Just search “how-to” along with whatever you’re trying desperately not only to find out more information about but also to find out how much fun
Digging a hole for a fence post 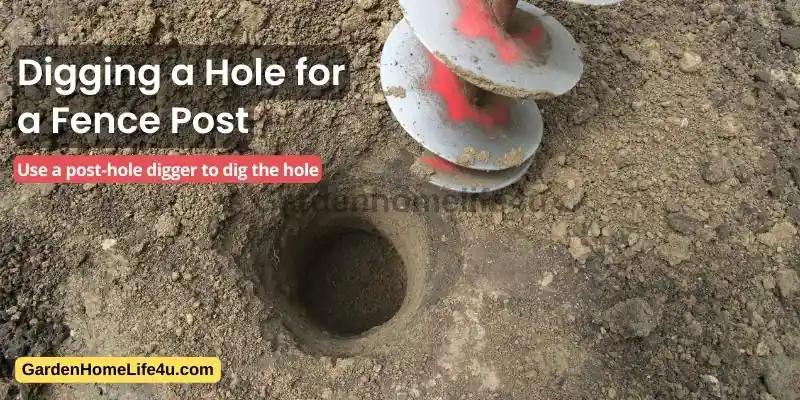
- Setup, measure and mark the position of the first and last post
- Run a thread across both and mark all the in-between posts
- Use a post-hole digger to dig the hole.
- Make sure the hole is deep enough to accommodate the post, or else you could be stuck with a crooked fence and even worse, an unstable fence!
- A good rule of thumb is about one foot deeper than three feet tall.
- for a 6 feet fence panel ( 1.83 M ) we are talking about at least 1.5 feet, so be mindful of the length of the post you will need.
- Make sure your holes are straight, not curved or jagged like an unfinished sidewalk project from your childhood summer job as a kid! This will ensure that your fence posts line up neatly with each other in an orderly fashion (which can also go for any other type of post at any point in history). If someone’s going to look at this thing for years on end, having it look neat and clean will make all the difference in their perception of its quality as well as yours!
Placing a fence post in concrete 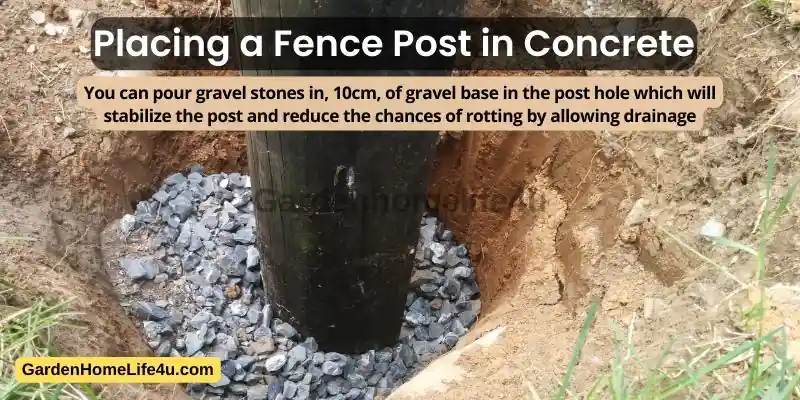
Before installing your fence post, it’s a good idea to check the ground for any large rocks or roots that might cause problems. If there are any, take care of them before you dig your trench.
You can pour gravel stones in, 10cm, of gravel base in the post hole which will stabilize the post and reduce the chances of rotting by allowing drainage.
This will also be your chance to make sure the post is level and straight before you start driving it into the ground. You’ll want to use an extender tool if necessary depending on how deep in the earth you’re digging, but most people won’t need one unless they’re working with particularly rocky areas.
Use wooden spikes and screw them to the post to hold it temporarily in place.
In general, it’s best to use a post level to ensure that your posts are straight before driving them into the ground. This can be accomplished by having someone hold one end of the post while another person holds a measuring tape at eye level.
Reinforcing the fence post with metal braces 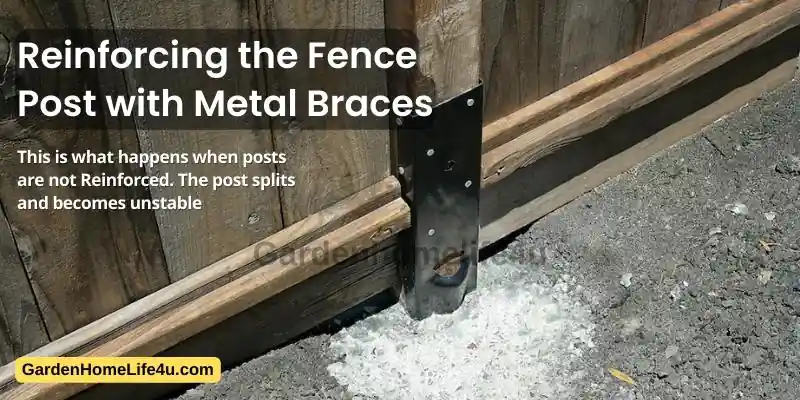
One of the most important things you can do to ensure the longevity of your fence is to reinforce it with metal braces.
{*Insert picture of a split post*}
This is what happens when posts are not reinforced. The post splits and becomes unstable, which can lead to leaning or tipping over as well as splitting further.
Metal braces help prevent this by giving additional support for the post and keeping it straight. They also provide stability against ground movement so that your fence stays upright even after years of wear-and-tear from weather or use (like some neighborhood kids playing soccer in your backyard).
Installing a new fence can be easy when you take it one step at a time. 
Installing a new fence can be easy when you take it one step at a time.
Planning:
- Determine the type of fence that you need for your yard, and consider what will work best for your property.
- Measure the length and width of where you want to put in a fence, so you know how much material will be needed and how long the job will take to complete.
- Make sure that there aren’t any underground utilities or cables before digging holes for posts or pipes during installation so that they don’t get damaged during construction! If possible keep an eye on utility companies while working on your project so they know what’s going on too! It’s important not only because they’re dangerous but because they may cost more money than expected while being replaced if damaged too soon after installation day arrives–and nobody wants surprises like this right away! Take care when doing anything else related work around these items as well; it may save time later down the road.”
Conclusion
After you have installed your fence, it’s time to enjoy the fruits of your labor. Not only do fences provide safety, but they can also add value to your home. They are also great for helping you keep unwanted pests out while letting others in! If you need help with planning or installing a fence around your property then I hope this guide was helpful and please let me know if there’s anything else I can do to assist.